Testing a snowmobile’s battery only requires a multimeter and some knowledge about batteries. You can test your snowmobile’s battery at home. I have explained below the step-by-step process to test a regular battery, an SLA battery, or an AGM battery.
Follow these steps to test your snowmobile’s battery.
1- Physical check

Check your snowmobile if any terminal is loose or broken. Also, inspect the battery case for any bumps or cracks. And check if the battery is leaking its electrolyte.
If the battery fails here, you must replace the battery with a new one. A physically damaged battery is dangerous. Leaking electrolytes will damage the body and structural parts and may even cause an explosion.
2-Water Level Test (only for flooded batteries)

Carefully check the water level of your battery by placing it on a level surface. Each cell must be filled up to the fill line. If the electrolyte level is below the fill line, there is a chance that sulphation has taken place.
Refill the electrolyte in the cells that are low until it reaches up to the fill line and moves to the next step.
3- Hydrometer test (for flooded batteries only)

For this step, you will need a battery hydrometer. You can find it on Amazon or any auto parts shop for about $15 or less. You should read the instructions manual of the hydrometer and follow it.
ALWAYS WEAR SAFETY GLASSES AND PROTECTIVE GLOVES WHEN OPENING A BATTERY CELL.
Charge your battery up to 100% (by using a battery charger) and let it sit for about 3 hours. Then start the process. If your battery never finishes the charge, move to the next step.
Open one cell of the battery at a time and dip the hydrometer into the cell. Extract the electrolyte into the hydrometer. Note the reading on the gauge and release the electrolyte back into the cell. Repeat this step for all of the remaining cells.
If the hydrometer says the gravity is high and the reading is consistent for all the cells, your snowmobile’s battery is good. If any one of the cells fails, the battery is almost dead and should be replaced soon.
4- Voltmeter test
Grab a digital multimeter and set it to DC voltage. If you have a manual ranging multimeter, you should, set its measuring range to 20v DC. Connect the test leads of the multimeter to the terminals of the battery in the correct order. Note the reading on the voltmeter.
The voltage reading on your multimeter must be around 12 volts. If not, then your battery is not in good health, or this might be because of sulphation. Do not lose hope. Yet. You can get your battery back to a working state.
5- Sulfation Test

If your snowmobile’s flooded battery is not accepting charge then it is a clear sign of sulfation. If the electrolyte remains below the fill line for long periods, the battery becomes sulfated.
Many advanced battery chargers have the function of desulfation. They check the battery for sulfation. And if there is any sulfation, then the charger will try to de-sulfate the battery first. In the desulfation process, the battery charger gives about 15 to 18 volts for a short period. This process can revive the battery back to a working state.
There is a level of sulfation that cannot be desulfated. At that point, the battery is dead, and you can not do anything. Your only option is to replace your snowmobile’s battery.
6- Charging Test

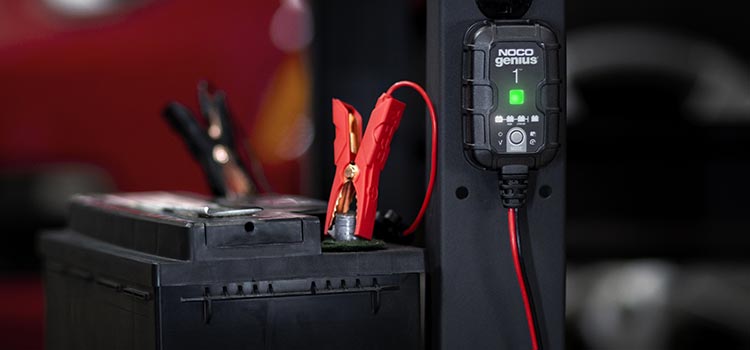
Connect the battery to a known-good charger(3 to 4 Amps at least or higher if your snowmobile’s battery is of higher capacity). Start the charging process until the charger indicates the battery is full. The charger should be a known good charger and not a faulty one.
If the charger keeps charging the battery at a certain level and does not stop, there is a problem. Keep the charger connected to the battery for about 12 hours, and then check the battery’s voltage by using a multimeter. If still, the battery is below 8 volts, your snowmobile’s battery is not good and should be replaced.
Regular battery chargers fail in cold climates. Either they do not provide sufficient current or reduced efficiency to charge the snowmobile’s battery. I have recommended some chargers that work perfectly in cold weather. You can check out my article here.
7- Load Test

For load testing, you will need a multimeter. Connect the battery to the snowmobile. Then connect the test leads of the multimeter to the battery terminals. Turn on the multimeter and set it to DC voltage and note the reading. The battery must give at least 12 volts. Keep the multimeter connected.
Start your snowmobile by using push start (self-start) and simultaneously note the reading on the connected multimeter. The voltage of your snowmobile’s battery should not drop below 10.5 volts.
If the voltage drops below 10 volts, the battery is not in good health. If the voltage drops to 6 volts or below, then the battery is dead.
In the end…
Checking a battery at home is not a big deal. All you are going to need is a multimeter. And, if you have a regular flooded battery, then you will also need a hydrometer.
By following these steps, you can check any battery at home and find out if it is good or needs replacing. If the battery is not good, it will fail any one of the above-mentioned tests. And, if it passed all the tests, your battery is in good health and will serve you more.