Charging a battery seems straightforward. You plug the charger, connect the battery and wait for it to finish the charge. But this whole procedure can be confusing because of some myths floating around the internet.
That is why I am going to explain the step-by-step procedure for charging the battery in your snowmobile.
Step by step procedure:
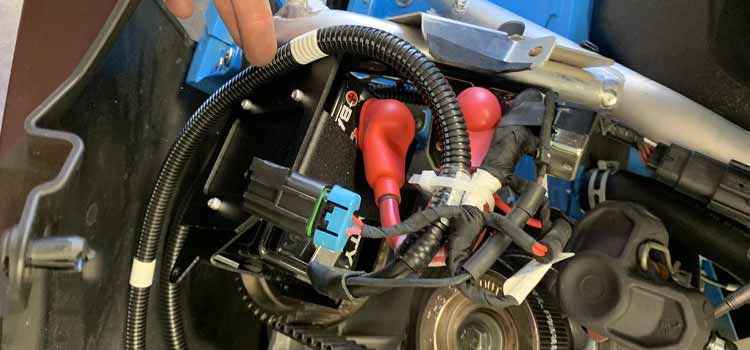
Disconnect the battery from terminals from the snowmobile’s electrical system.

Disconnecting the battery protects the sensitive electrical components in your snowmobile. These electronics might get damaged if you continued charging the battery without disconnecting it from your snowmobile first.Make sure the battery terminals do not come in contact with anything.

Batteries do not like to be shorted out and may cause fire or even explosions if the positive terminal of the battery gets in contact with the frame (or anything metal) of the snowmobile.Disassemble and pull out the battery.
It is always a good idea to remove the battery from the snowmobile. It not only allows you to work on the battery more safely but also prevents any unwanted damage to your snowmobile.
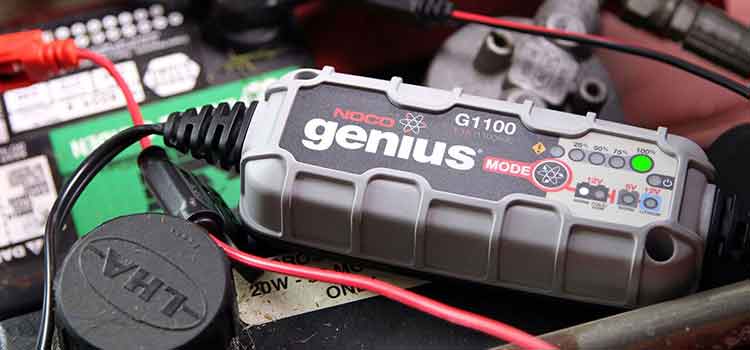
If you are an expert and know what you are doing, you can continue charging the battery in your snowmobile. Do that at your own risk.Now you will need a compatible charger.

Different types of batteries have different full charge voltages and float voltages. All battery chargers lookout for the connected battery to reach that voltage. By doing this, they can limit or cut off the power and finish the charging process.
For example, if you use a lithium battery charger to charge an SLA battery, it will not complete the charge properly or might overcharge the battery. It is because the fully charged voltage for a lithium-iron battery is different from an SLA battery. Always double-check the compatibility of your charger.
If you want to know which battery charger is best for your snowmobile’s battery, then check out my article on the best snowmobile battery chargers here. I have mentioned the best chargers that I have used and my experience with them.
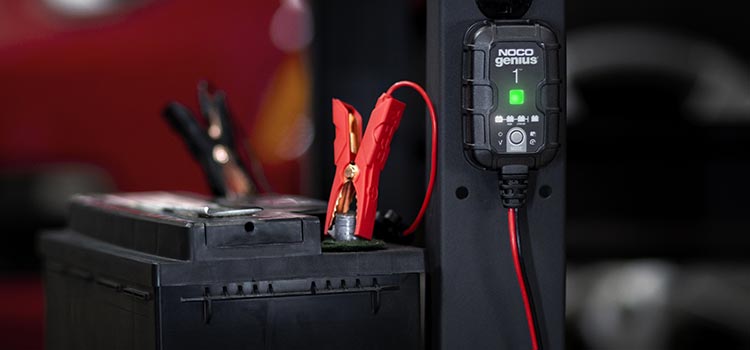
Connect the charger with the battery.

This step is pretty straightforward. Just make sure the charger is connected securely to the battery. A loose connection with the battery terminals will cause sparks, and in the case of an SLA battery, it can even start a fire.Make sure the terminals are not reversed.

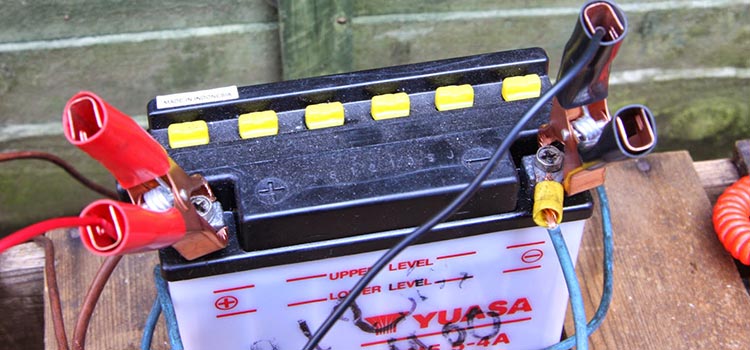
Most chargers have reverse polarity protection, so you should not worry about that as much. But still, you should always double-check the polarity before connecting the charger to AC power. The red wire from the charger goes to the positive terminal, and the black wire goes to the negative terminal on the battery.
If your battery is completely drained or below 3-4 volts, you will need to use the manual setting on your battery charger. Using this setting will disable all the protection features, including reverse polarity and short circuit protection. Use the charger with caution and make sure the charger is connected the correct way.Plug the charger into the wall socket and turn it on.
If you have done everything correctly, the charging process will start, and the battery charger will indicate that it is charging the battery properly.
Three thing you should check before it’s too late
Compatible chargers
Some chargers are made (specifically) for one type of battery (like SLA) only. Check your battery type and confirm that it is compatible with the charger you are using.
Some more expensive chargers support multiple types of batteries. You can select the type of battery you are going to charge. Some cheap chargers might malfunction, and that might be the last day of your battery.
Never use the automatic battery detection feature on the charger and manually select the battery type you want to charge.
Overcharge/Undercharge
Some chargers can overcharge a battery, and when you know it, it’s too late. I have written a post where I have explained how much time it will take to charge a snowmobile battery. Read it here.
So you can calculate an estimate and check your battery accordingly. After that time, if the charger is still charging the battery, you must check the voltage of your battery using a digital multimeter.
If the voltage reading is more than 14 volts, the battery is fully charged. If the voltage is below 12, the charger is not giving enough current to charge the battery.
Reverse Polarity
Not all battery chargers have protection against wrong polarity and connections. If your charger has reverse polarity protection, you should still double-check the battery connections first before continuing to charge the battery.
If your battery is critically low or can not be detected by the charger, you will need to use manual mode. In this mode, all protection features on the charger are disabled.
Take extra precautions and make sure the charging leads do not short out and are connected in the correct order to the battery.
In the end..
Charging a battery is not difficult, but you should take extra care the whole time. The Batteries can be dangerous as they pack a lot of electric current in a small package. If you do not take extra care and connect the charger the right way, the battery can swell up, release magic smoke, catch fire or even explode.
If you do it all properly and take extra care when charging a battery, you are safe. And, the chances of damaging the battery are almost zero.
Sources:
Optimal battery charging, Part I: Minimizing time-to-charge, energy loss, and temperature rise for OCV-resistance battery model
Research on the Battery Charging Strategy With Charging and Temperature Rising Control Awareness